


Help Desk
18 July 2025 06:57 PM

How do I configure Cyberduck for Mac OS X?How To: FTP Configuration
|
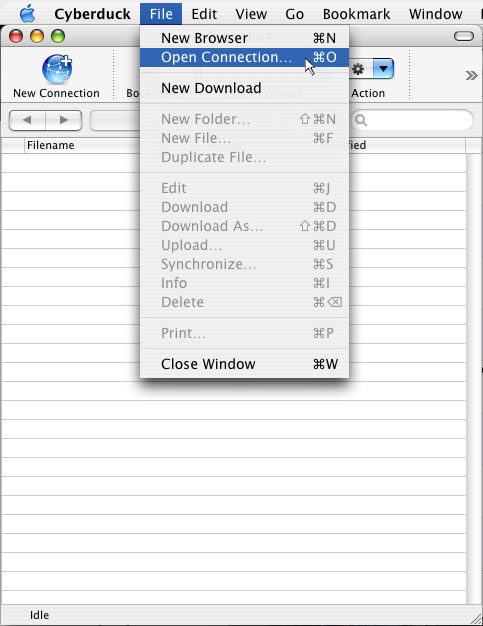
Cyberduck is a free FTP program for Mac OS X only. Once you have chosen Cyberduck as your FTP client, you can use the following step by step guide to help you configure it with the proper settings.  Cyberduck for Mac OS X Setup GuideYou will need the following FTP login details to access your FTP account through Cyberduck: Server (Host): Remote Directory: Username: Password: You were emailed the FTP login details when you signed up for your hosting account, but if you no longer have that email you can view the FTP login settings and change the FTP password by following these steps: 1. Login to your Account Manager at https://www.domainit.com/myaccount 2. Click on the domain name you would like to manage 3. Under "Service Details" you can view the FTP Hostname, FTP Username, and Remote Directory 4. Then, to change the FTP password, click "Change Password" next to "FTP/Control Panel"  Open Cyberduck. Go to your "File" menu, and select "Open Connection."
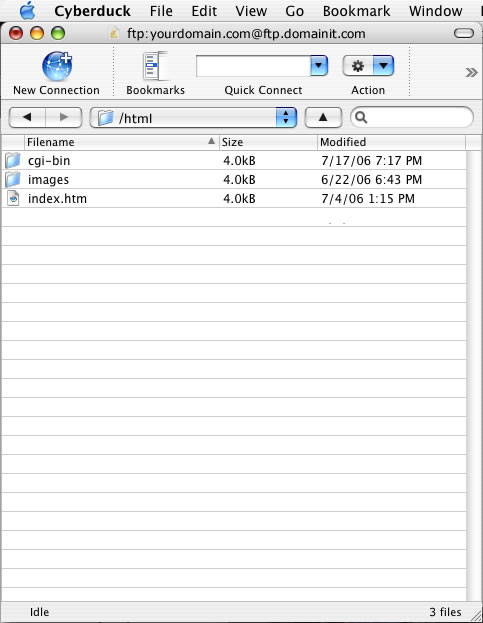
  You're done! Your webfiles should have appeared in your Cyberduck window. Now you are free to drag and drop files between Finder and Cyberduck.
| |
|
|
|
 Next you will be prompted for all of your log-in information. First enter the Server,
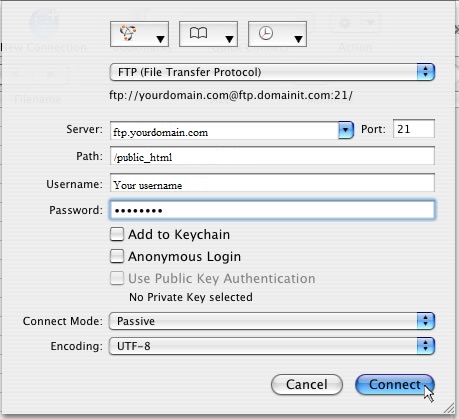


home :: account manager :: domain names :: web hosting :: email :: search engine submission :: website tools
about us :: testimonials :: affiliate program :: support :: contact us :: site map
© Copyright 1996-2025 DomainIt. All rights reserved. Service Agreements